
In the spirit of both learning new skills and trying to be more creative in my off-work time, I decided to try and 3D print one of my dogs as an anniversary gift for my wife. I knew I would need to do a 3D scan, and started looking into possible ways to go about it. I first played with a few different app-store versions of 3D scanners, but found that they were fairly inconsistent, low quality, and abstracted a lot of modeling away from the user, essentially minimizing the amount of actual post-processing that could be done.
After a bit of searching, I found Meshroom. I won’t go in depth into using Meshroom, as there are a series of excellent tutorials to get you started, but it offers both a convenient interface and lot of customization options for tailoring the process to your specific data. To start with, I was using an oreo-cake-ball that I had made earlier to test the process, and found myself quite happy with the initial results:
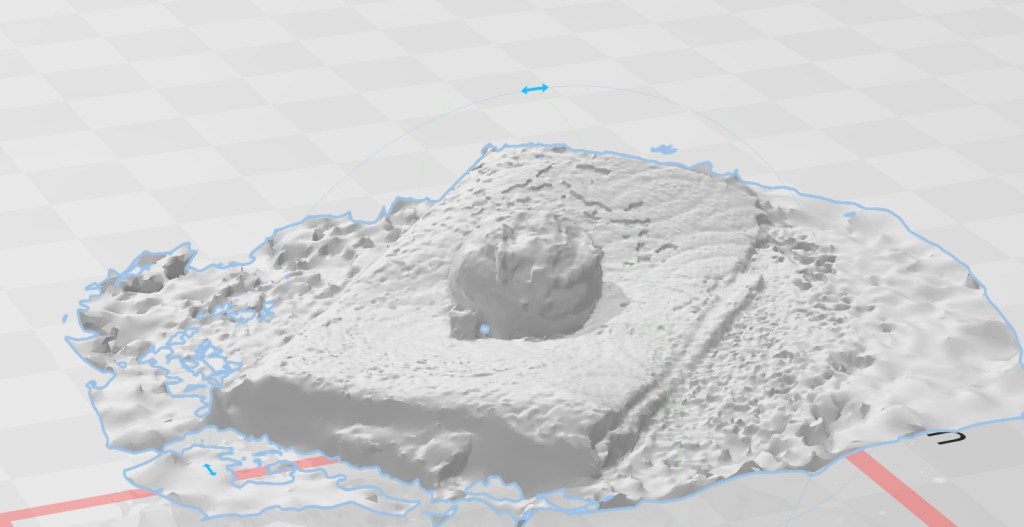
Not only was the shape scanned continuously, but even the napkin around the ball was relatively accurate for a first cut without any post-processing. What also surprised me was the color correctness (not shown as I didn’t have the foresight to save that image), with individual sprinkles being resolvable on the cake-ball surface.
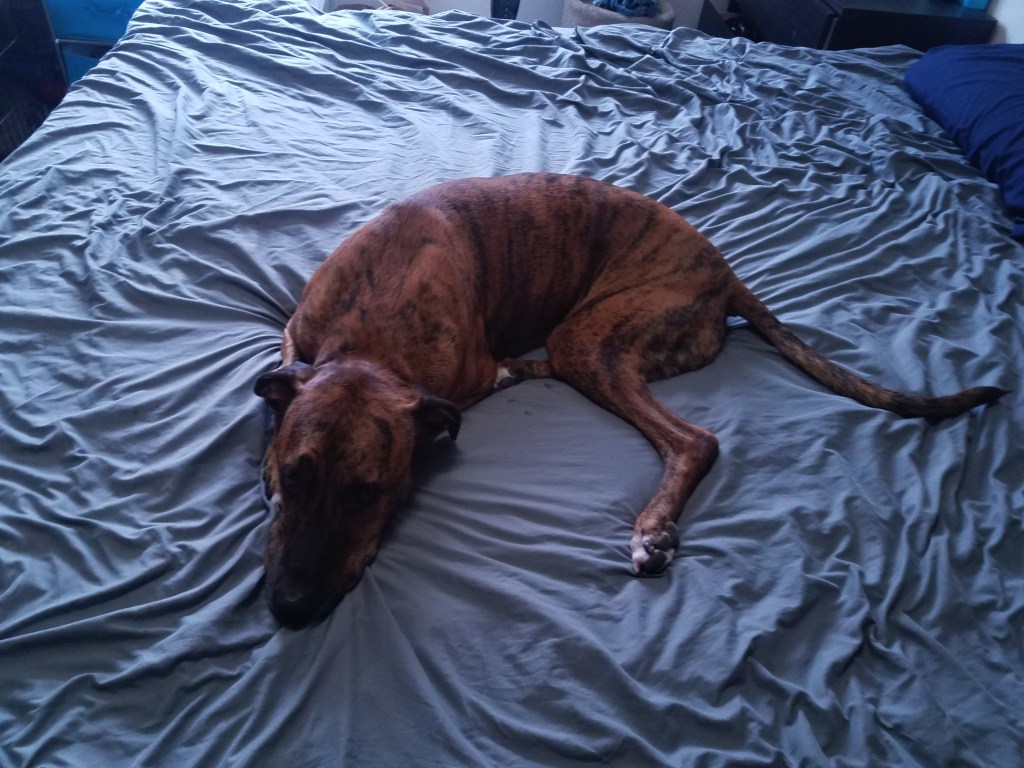
I was impressed enough by my rough attempt to move forward with Meshroom. I decided to scan Dojo, my boxer mix, as he was the least excitable and would probably be the easiest. After setting my phone to a consistent set of optical parameters (necessary for meshroom to work properly), I set him on the bed and began taking photos. The difficult part of this process is getting a full, 360° sweep of the dog- it took me a couple thousand photos to do, in part because it’s very difficult to communicate to a dog that they need to stay still. The fact that I was clearly interested in him and leaving/entering his field of vision made him want to move, and each time the subject moves you have to start over.
After about an hour of attempts and reattempts, I finally managed to lap him without him getting up or shifting around. I checked my phone, saw that I had managed to snap 200 pics during that attempt, and called it good enough. I then imported the pictures into meshroom, toggled a few settings, and let my GPU do the heavy lifting.
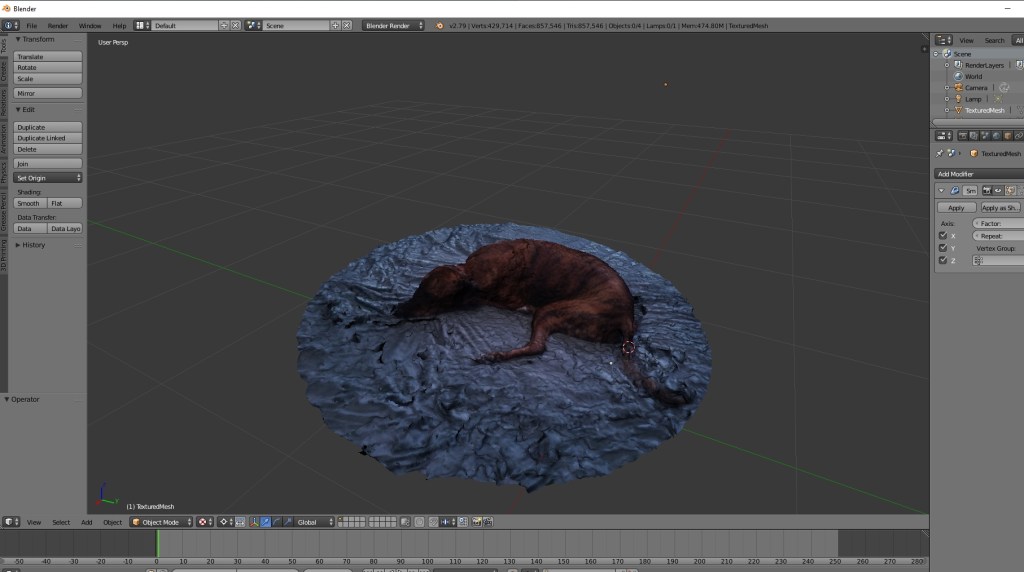
The generated model was really impressive, especially from a color standpoint. At some point during the scan he must have moved his tail, as that didn’t exactly come through, and some parts of his face were a little bit squished, but the general shape was all there. One aspect that I wasn’t thrilled about was the rippling of the bed sheet, but I considered this a necessary evil in terms of trying to make the scanning process as uninteresting as possible. Since my wife does a lot of training with him, he’s extremely attentive when he thinks we expect something from him, so I tried to make it seem like we were just sleeping when I took the pictures.
From here, I imported the mesh into Blender, smoothed out the area surrounding dojo, and cleaned up a few straggling points before importing it into a slicer. I also added a little raised edge just for ergonomics.
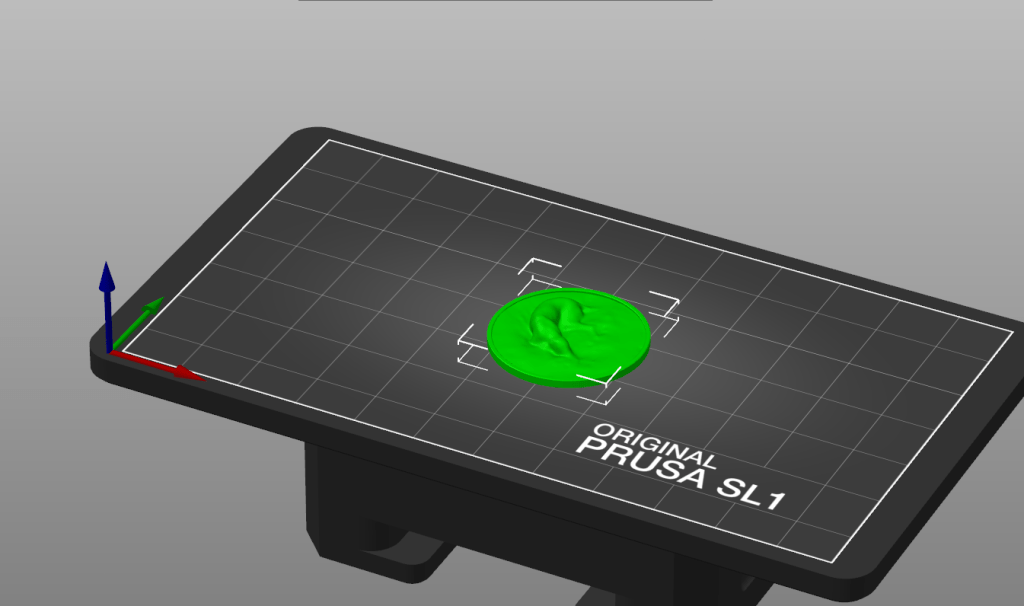
After verifying that the model was printable, I was able to upload it to the Form 3 and get printing: Overall, the results were extremely clean, and I was super happy with the final parts.

I’m excited to try this again with the other dogs, although I have some lessons learned: Firstly, I would like to come up with a more autonomous way of getting all of the images, just so that I don’t need to keep the dogs attention for as long. Secondly, trying to get the dogs into a position where their limbs don’t bleed into each-other will hopefully get better feature resolution. Lastly, I took entirely too long to reach out to one of my coworkers regarding working in Blender, and wasted several hours on fixing a mesh that could have been repaired in five minutes.
