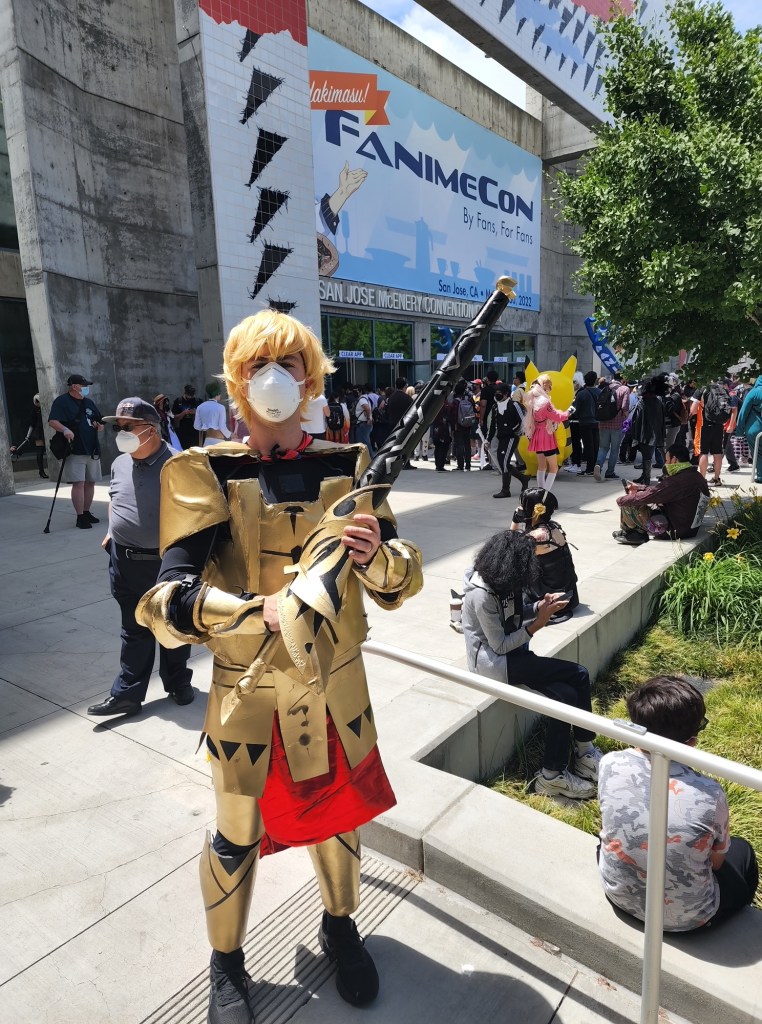
This year for Fanime and Crunchyroll Expo I decided to cosplay Gilgamesh from the Fate series. I wanted an excuse to try out armor-crafting, and Gilgamesh has an easy to manage color scheme (I’d had positive experiences with the metallic gold spray-paint from hardware stores already on some props). Today I’ll go through the things that worked, and things that didn’t work and how they were fixed.
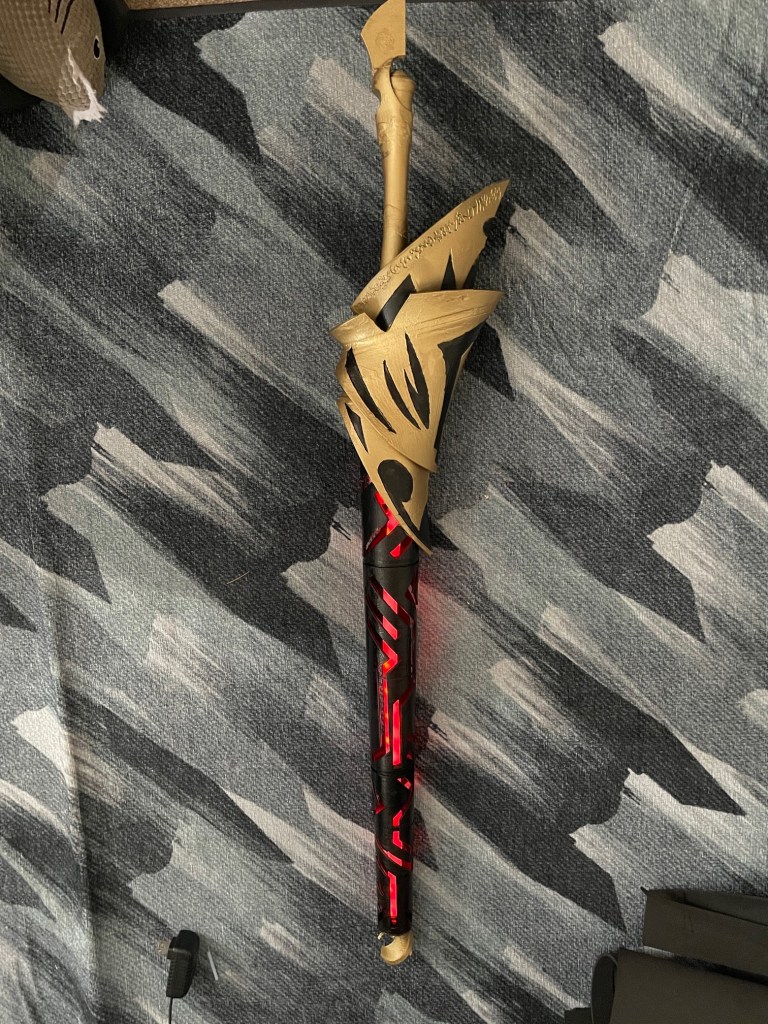
To start with, a few notes about how I went through the design process, what I prioritized and what I decided to ignore from the outset, and some general notes about some of my design philosophy (true for both my art and professional work). When it comes to aesthetics, I find the two following ideas to be the most helpful- the first is that properly allocating detail is more important than getting detail correct, and the second is to prioritize tasks by size. Practically what this meant for this costume, was that detail should be focused primarily on what I wanted to be the centerpiece for the design, Gilgamesh’s sword Ea, and progressively taper off from there. Secondarily, design should be focused on the largest parts of the costume (the chest piece and pauldrons).

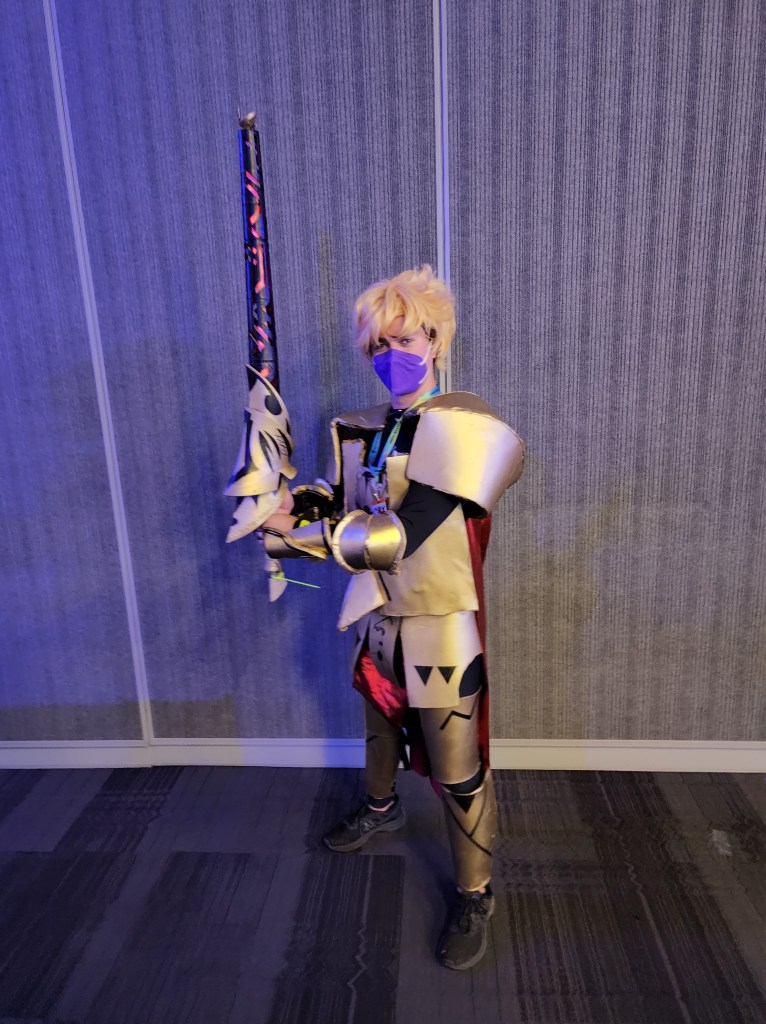
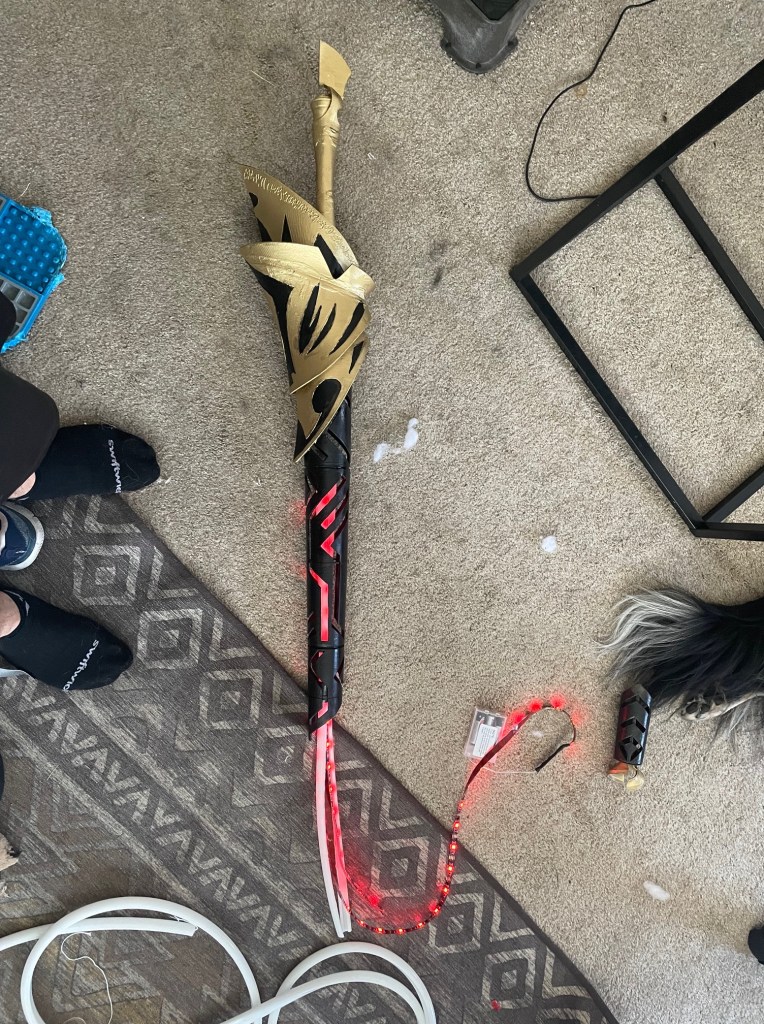
The LEDs naturally draw the eye to Ea, by design the focus point. Obvious points of contrast present in the original costume were added with an airbrush, and contrast along the bracers and elbow guards further embellished with worbla. I also added more detail to the shins to distract away from the lack of knee armor. The pauldrons and chest piece are a bit messy, but mostly serve to add bulk color anyway.
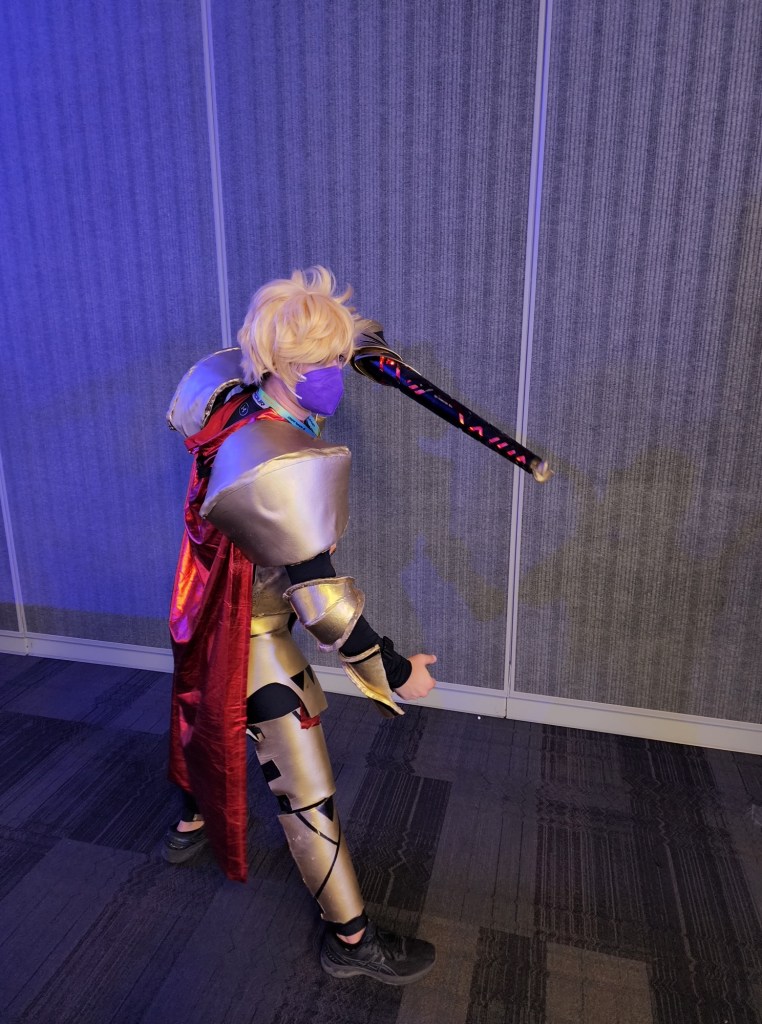
Following this model, the design flow was thus- First Ea, second gauntlets, third bracers/arm armor, fourth chestpiece and pauldrons, then third leg armor. After a bit of deliberation, I realized that most of the time at least one of my hands wouldn’t be visible, and de-scoped the gauntlets away from the costume. The second major design change that I settled on was ignoring the view from the back- In the Fate series Gilgamesh’s armor wraps around to the back, but by just overemphasizing the cape I could get away with a much simpler build that still captured the details that I considered most important (thanks again to my wonderful wife for handling most of the sewing).
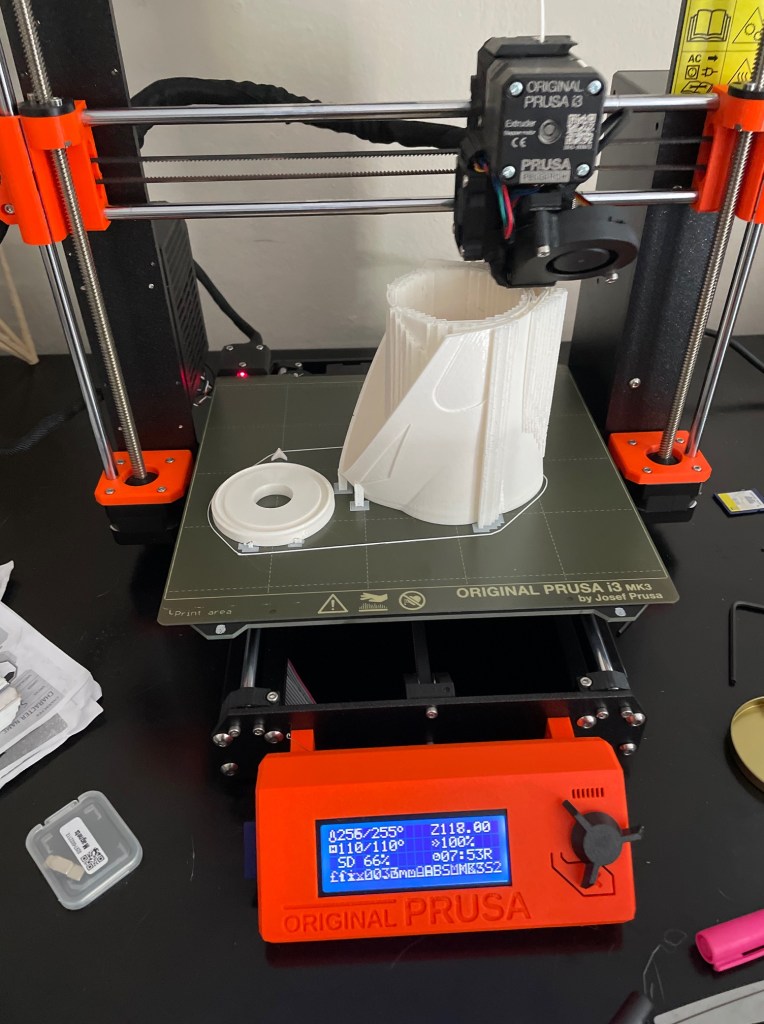
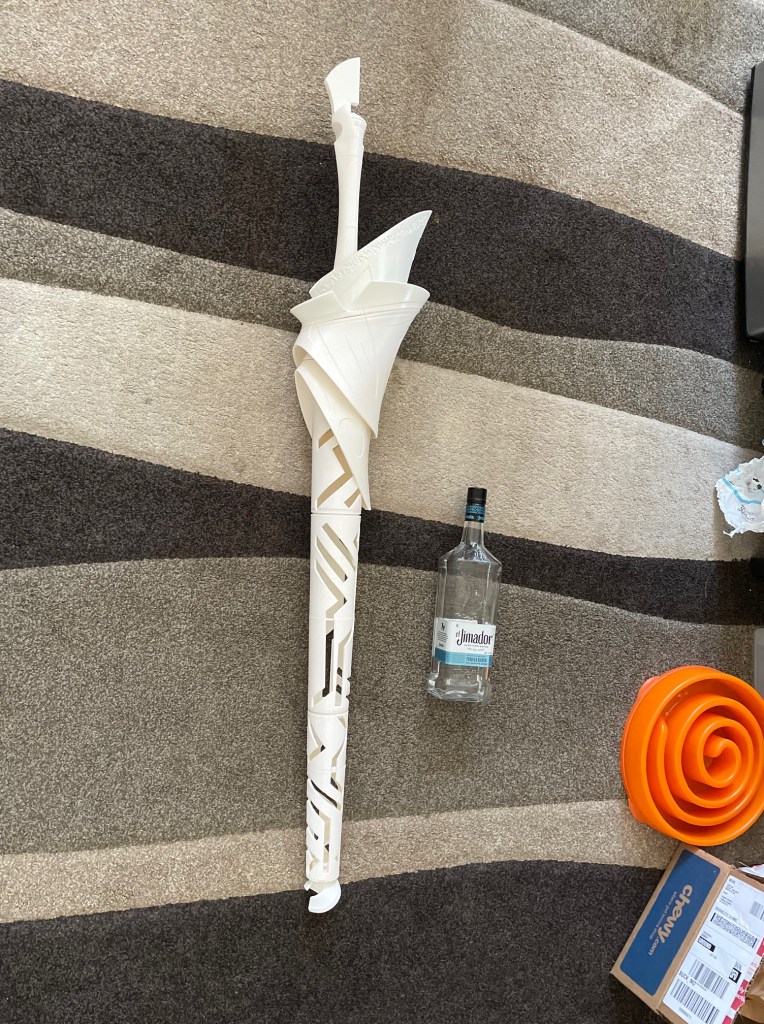
I found a nice 3D model of Ea online and printed that out. It was about 100 hours of printing, and only required minor sanding/modifications to fit neatly together. After gluing it and painting it, I decided to add some red LEDs to the blade- The first issue I ran into was fitting the LEDs in- I’m pretty confident in my supergluing so I just broke the sword in a couple of places and laid the LEDs in. The result was, for lack of a better word, uninspiring. The LEDs looked really fake, and the lack of light scattering didn’t help. So what I did next was buy some LED strip diffusers for wall mounting, and then cut the flat part off of two strips and glued them together around the LEDs to form a cylindrical tube. This had the added benefit of fitting much nicer into the blade as well, and with this Ea was completed to my satisfaction.
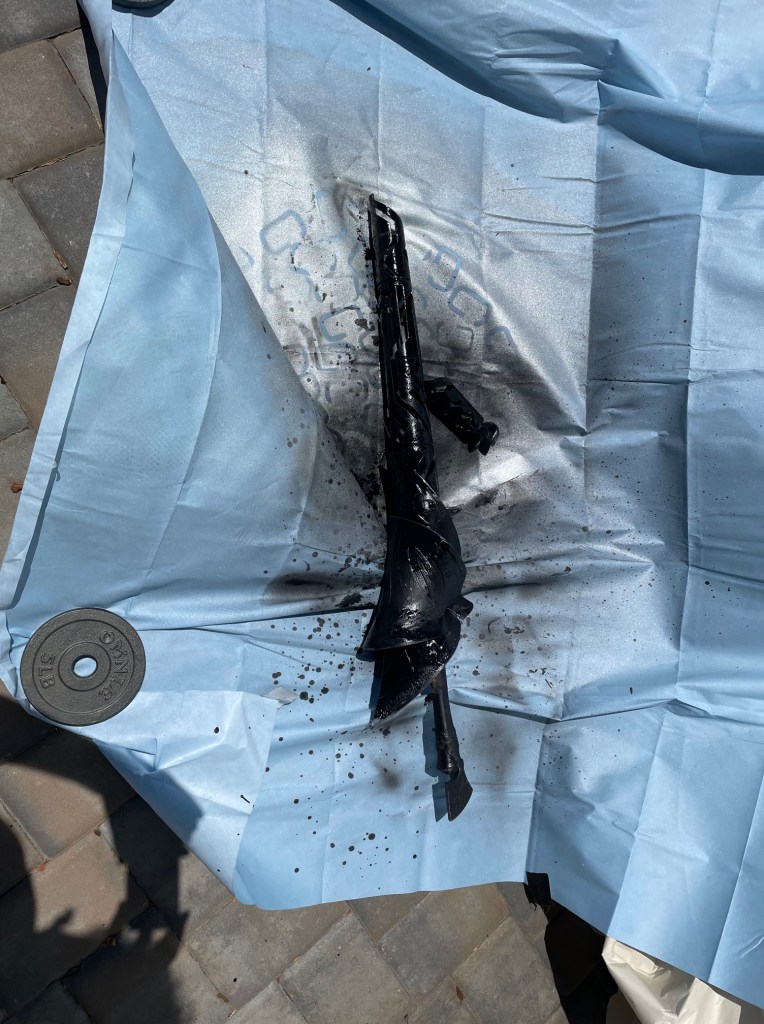
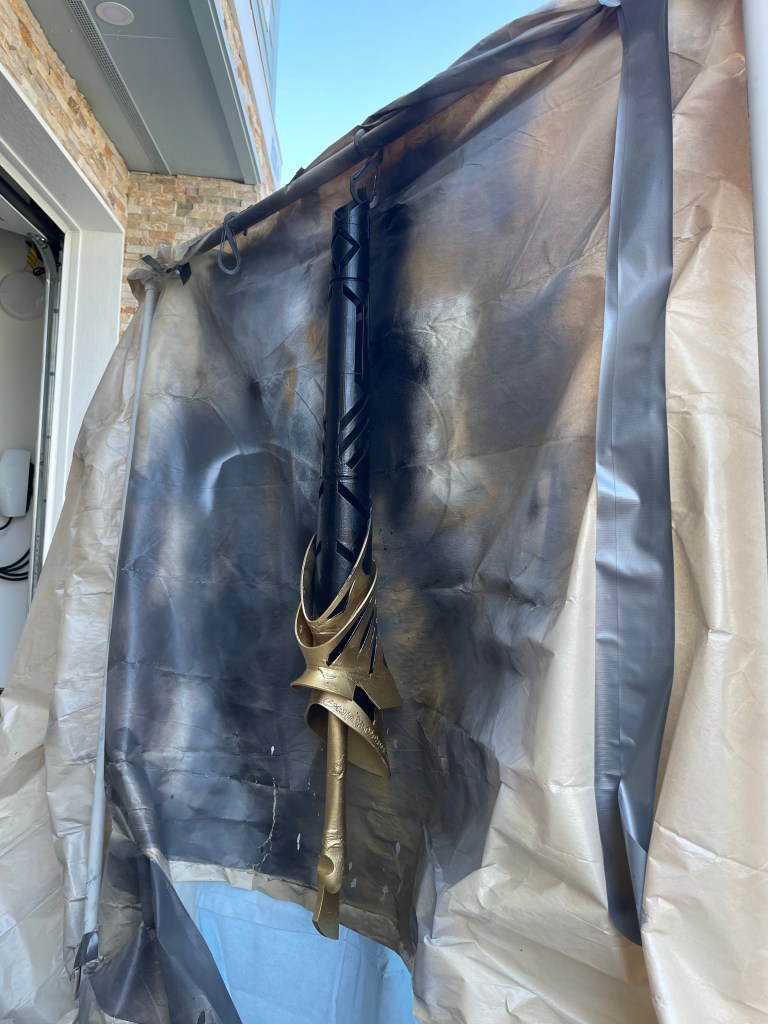
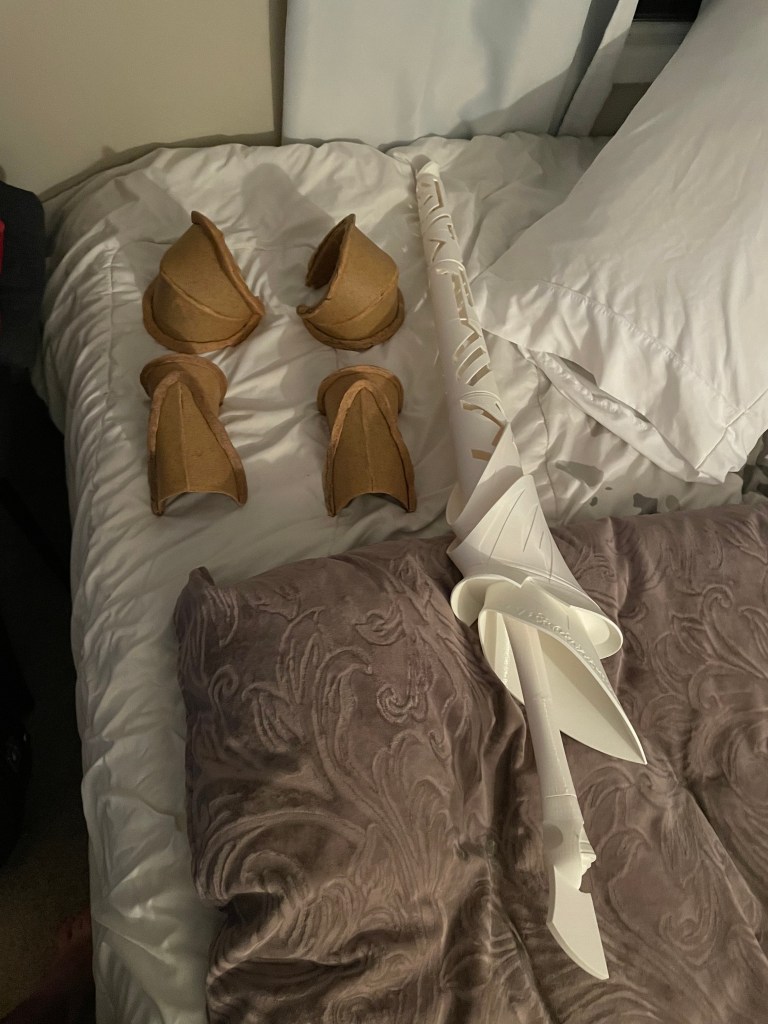
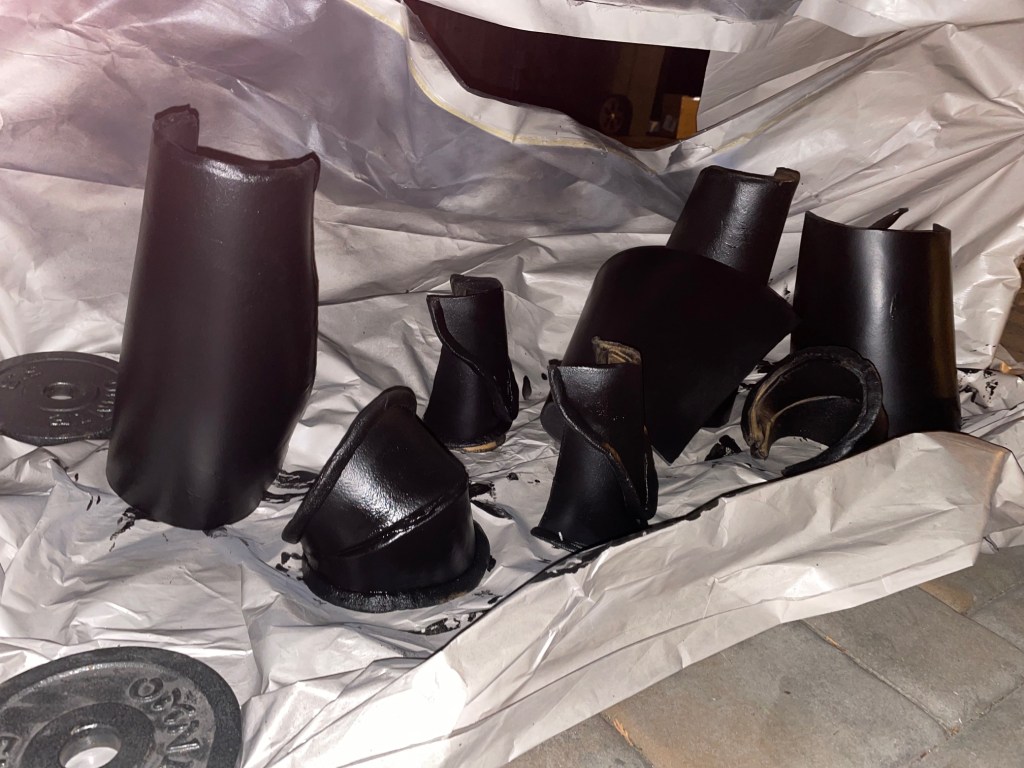
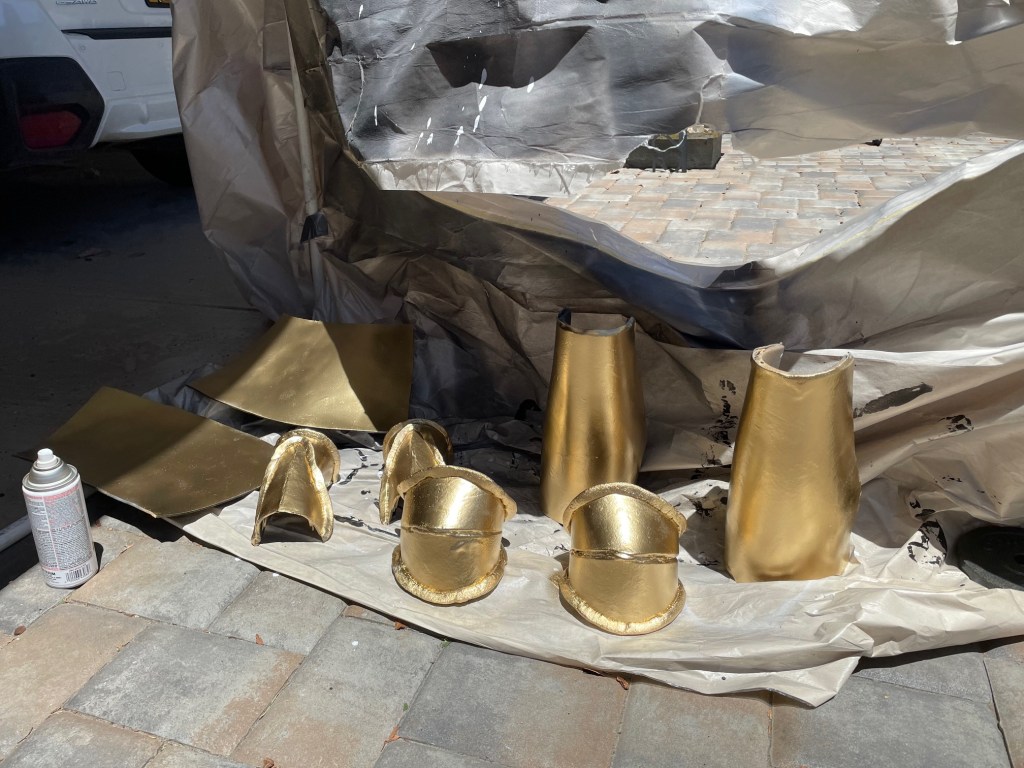
Next, I used Kamui Cosplay’s method from The Costume Making Guide to prototype a few gauntlets. After 4 attempts, I had a gauntlet that I was satisfied with and moved on the the elbow pieces and shin guards. At this point I was very low on Worbla, and decided to just do the thigh armor/skirt as EVA foam only. Upon getting more Worbla, I did the chest piece and pauldrons as well. Once shaped properly, everything was hit with 3 layers of Plastidip, 2 layers of primer, 2 layers of gold spraypaint, and 1 layer of transparent varnish/sealer.

I went to Fanime with this build, and quickly uncovered some major issues. The first issue was weight- both the chest piece and pauldrons were extremely bulky and really ought to have been Foam only builds (this I never got around to rectifying). The second issue was much more critical- all of the attachments were really inconsistent and I could only walk about 40-50 steps before part of the armor needed adjusting, something that I couldn’t do on my own with the amount of things I was wearing and the limited range of motion I had.
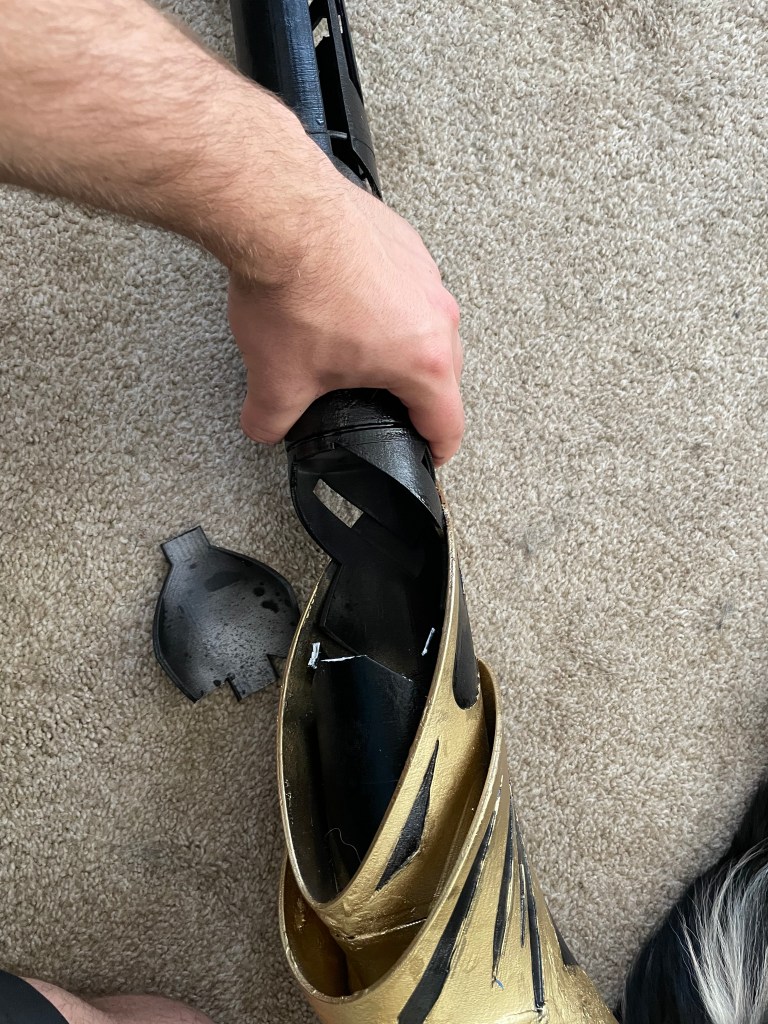
Luckily, Dreidel Cosplay would give an awesome talk about exactly this topic the next day at Fanime. Armed with D-rings, buckles, and straps, I went about modifying all of the armor pieces to ensure that they could be more reliably installed/tightened for Crunchyroll Expo. The range of motion was still a bit restricted and required a handler for putting everything on, but the new attachment methods worked like a charm- after losing count of how many times I needed a part fixed/readjusted during Fanime (well over 100 times), I didn’t need a single part fixed during Crunchyroll Expo.

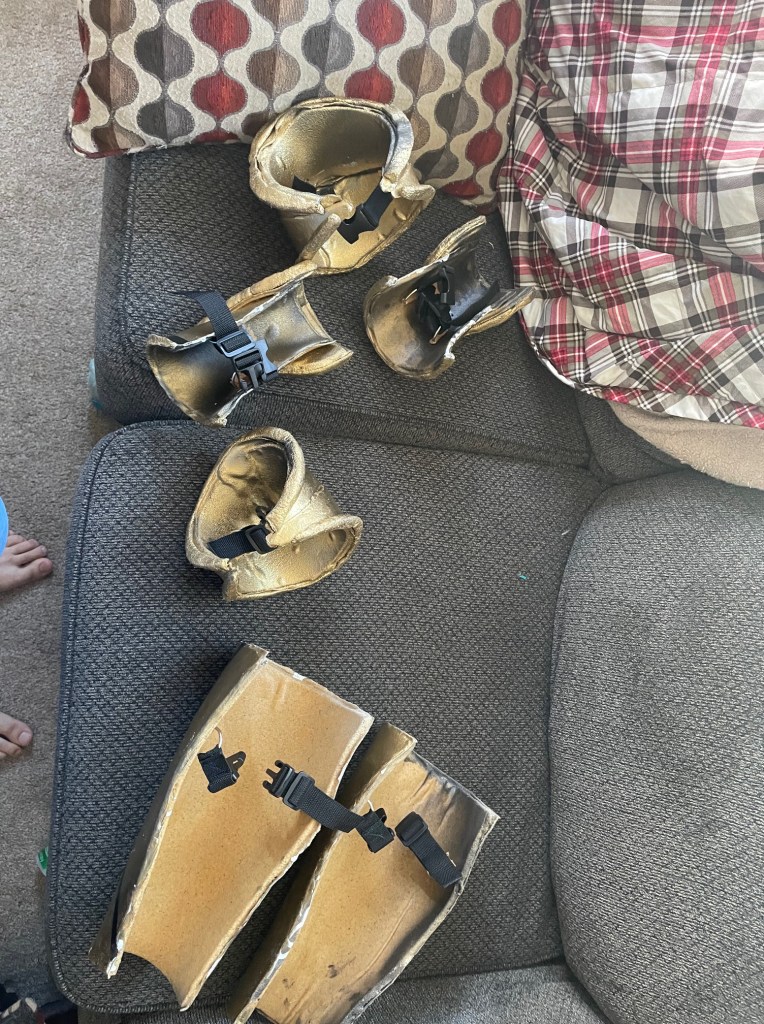
The joints are all the same basic design- a captive D ring is sewn into the strap, along with a buckle and an adjustment strap so that the length can be changed to fit/tightness can be changed dynamically. The flat end of the D ring then has worbla wrapped around it, and that worbla is heated and stuck to the piece of armor. For the large pieces, I went further and cut an incision into the armor so that the worbla tag would be inserted under the armor for added strength. For the smaller armor pieces, I added some superglue rather than use an incision where there wasn’t a lot of material.
The end result was something I was satisfied with, at least for a first attempt at armor. There were also a good number of lessons learned: Worbla is an excellent material to work with, but it’s easy to go too overboard and wind up with rigid pieces where flexibility would be better. Also breaking individual pieces into multiple components would have been a dramatic improvement in some cases, primarily the chest armor. Lastly, the element that surprised me the most was how much more important color and texture were than consistent rigidity- the skirt and thigh armor mesh seamlessly with the rest of the worbla pieces, despite being completely different in terms of material properties.
